In the era of social media, people are no longer putting someone’s picture in their photo locket since it is no longer difficult to see their loved one’s face and hear their voice on social media. For example, Locket serves to directly send a photo to your friend’s home screen without opening any social apps. It is amazing!
Advantages of Photo Locket Necklaces
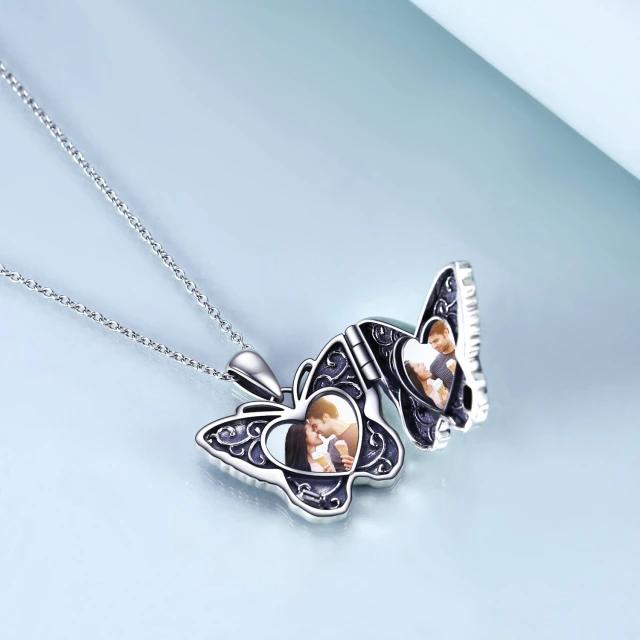
But a photo locket pendant is still a good way to store special photos in your life. Compared to pictures on the phone, it is an entity that you can touch. It will be worn close to your heart and give you power.
How to put a picture in a locket? We will make a brief introduction for you. By the way, we provide this service if you bought our custom series jewels. If you have some time, you can also make it by yourself according to the following steps.
Materials & Tools
Printer, sticky tape, pencil, small scissors, wooden toothpick, standard plane.
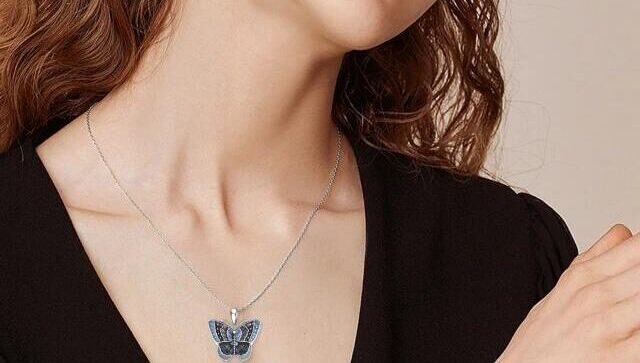
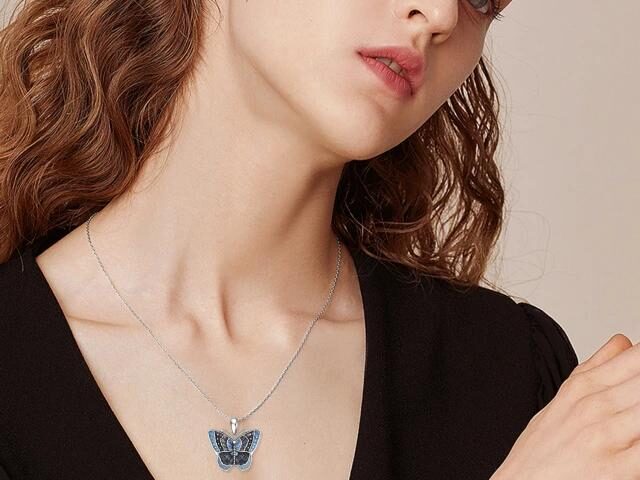
There is a wide range of various shaped photo lockets on the market such as round, oval, heart, teardrop, etc. Different shapes of photo locket pendants have different measuring ways but are almost the same. We will take a heart-shaped butterfly photo locket pendant for an example. If everything is ready, let’s start to put a picture in a locket now.

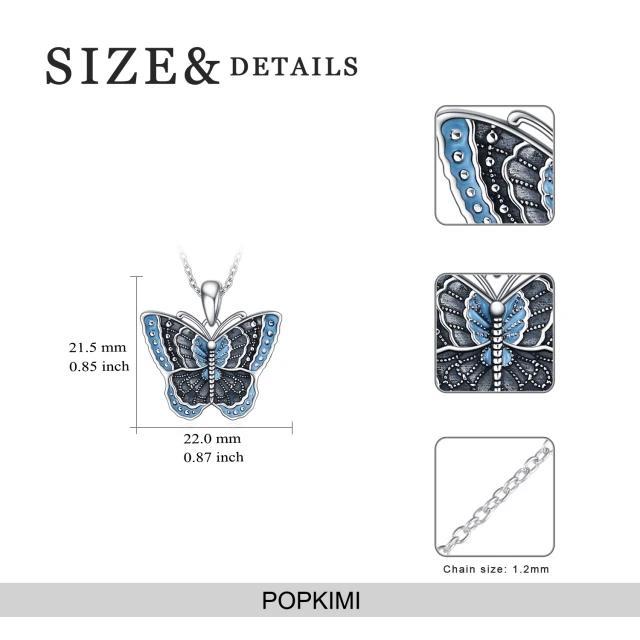
Step 1: measure your photo locket
Measure the longest distance between locket frame extremities in the middle of the frame. Then you had better record the exact width and length of the locket frame. These data will help you in dealing with your picture on the computer.
Step 2: print photos
If you are not familiar with photo editing software, you can deal with your pictures with Microsoft word. There are four steps and then you can get a suitable printed paper from your printer. First, open a new word document and insert your image. Then, click your photo and find the format button, choose the right width and length (slightly bigger than the recorded sizes). Third, cut your picture into shapes whatever you like. If the face was cut, you can adjust it one more time. Finally, print it.
Step 3: template and cut
To make a precise cut, we can cover the left side of the butterfly photo locket with the printed paper. Make the printed heart shape meet with the locket, and then draw the line of the inner edge of the frame with a pencil. Before cutting, it is important to cover your photo with a protective film by transparent sticky tape and put it on a hard and clear surface. Now you can cut it slightly larger than the size of your butterfly photo locket.
Step 4: insert picture in your butterfly photo locket
To finish the cutting of the photo we usually paint its edge with liquid silicon, and bee or candle wax is also acceptable. Start inserting a wider upper side of the heart first, and press slightly with two fingers to bend it. Pick a toothpick and continue pushing and inserting it towards the point at the other end. If the end doesn’t fit push the photo with your finger up. It should perfectly fit even sometimes a little bit wrinkled at the bottom.
Social media is so powerful enough since they narrow the distance through a screen. But to some degree, it also makes the mental distance between human beings widen. Instead of chasing something or someone hundreds of miles away from you, the ones who always stay with you much deserve to cherish. Make a photo locket with their pictures or shop one from our online shop now.